
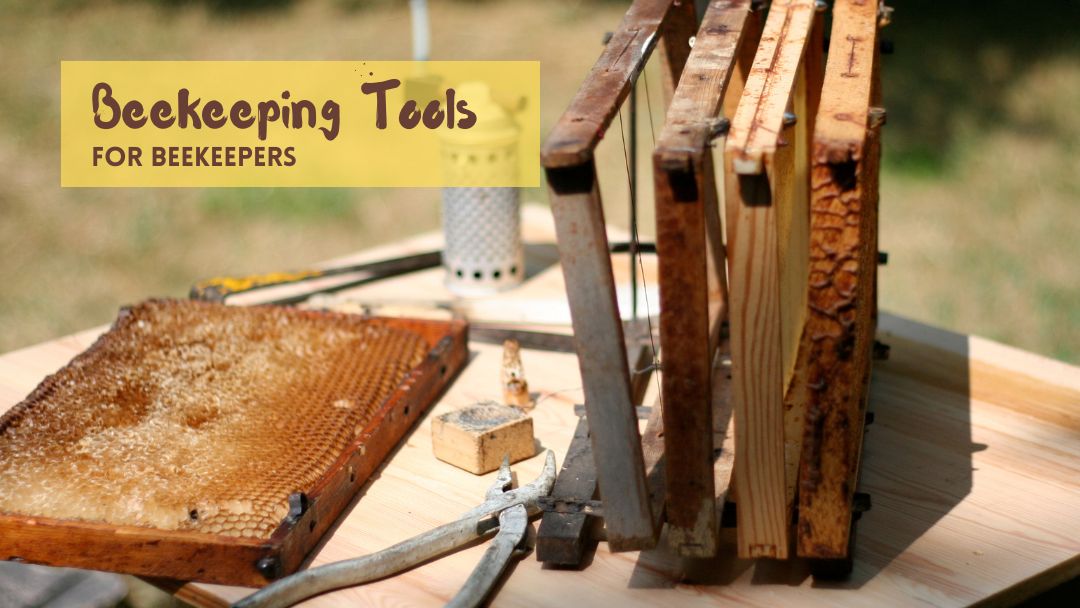
Beekeeping Tools and Equipment: What You Need and What Can Wait
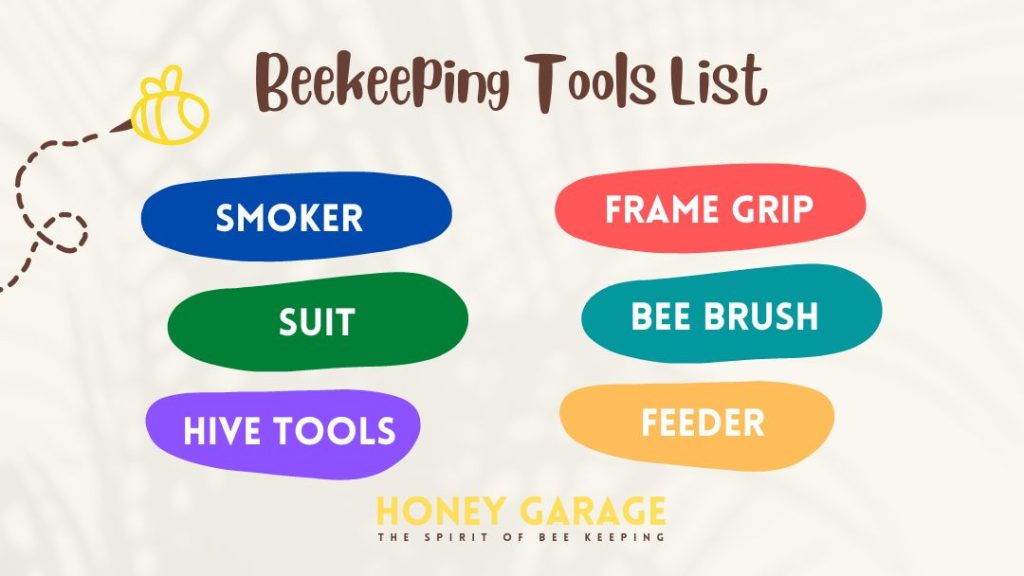
The essential beekeeping tools are a hive, a smoker, a hive tool, a veil or suit, and gloves. With those five you can install bees and inspect them safely. Add a bee brush, a frame grip and a feeder in your first season, and put off harvesting equipment such as an extractor until the bees actually have honey to spare, usually in year two.
Below is a full beekeeping equipment list sorted by when you need each item, what each tool does, and how to avoid spending money on gadgets you will rarely use.
Beekeeping equipment list at a glance
| Item | What it does | When you need it |
|---|---|---|
| Hive (boxes, frames, foundation, covers, bottom board) | Home for the colony | Before bees arrive |
| Hive stand | Lifts the hive off damp ground; easier on your back | Before bees arrive |
| Veil, jacket or suit | Protects face and body from stings | Before bees arrive |
| Gloves | Protects hands while you learn | Before bees arrive |
| Smoker and fuel | Calms bees during inspections | Before bees arrive |
| Hive tool | Pries apart boxes and frames stuck with propolis | Before bees arrive |
| Feeder | Feeds syrup to new or hungry colonies | First weeks |
| Bee brush | Moves bees gently off frames | First season |
| Frame grip | Lifts frames one-handed | Nice to have |
| Mite monitoring and treatment | Keeps varroa under control | First summer |
| Queen excluder and honey supers | Keeps brood out of honey boxes | When the colony fills its brood boxes |
| Uncapping knife, extractor, strainer, bucket | Harvesting honey | Usually year two |
The simplest way to get most of the first six items at once is a beehive starter kit. Check what each kit includes, since some come with protective gear and tools and others are hive only. Our beekeeping supplies checklist goes item by item.
The essential beekeeping tools
Smoker
A few puffs of cool smoke at the entrance and under the lid mask the alarm pheromone that guards release, and prompt bees to fill up on honey, which makes them calmer. A stainless steel smoker around 4 x 7 in holds enough fuel for a full inspection of several hives; smaller ones go out too quickly. A heat shield around the firebox saves your hands and gloves.
Fuel matters as much as the smoker. Pine needles, burlap, untreated wood shavings and cotton pellets all give cool, white smoke. Avoid anything treated, synthetic or oily.
To light it, drop a small wad of paper or a few pellets in the bottom, light it, and puff the bellows gently until it catches. Add fuel a handful at a time, puffing between additions, until the can is packed and producing thick, cool smoke. Top it with a plug of green grass to cool the smoke and keep sparks in. A well-packed smoker should stay lit for 30 minutes or more. When you finish, plug the spout with grass or a cork so it smothers, and never set a hot smoker down on dry grass.
See the best bee smokers, the best bee smoker fuel, and why a smoker is necessary.
Hive tool
Bees glue every joint with propolis, so you cannot open a hive with your fingers. A hive tool is a flat steel bar for prying boxes apart, loosening frames and scraping off burr comb. The two common styles are the standard (flat, with a scraper end) and the J-hook, whose hooked end lifts frames up by the lug. Many beekeepers keep one of each, and a spare, because they get dropped in the grass constantly. Compare the best hive tools, which also covers frame grips.
Protective gear
At minimum you need a veil, because stings to the face and eyes are the ones to avoid. Most beginners start with a full suit or a ventilated jacket plus gloves, and shed layers as they gain confidence. Compare full bee suits, ventilated jackets, veils and gloves, or read our protective clothing guide for the suit vs jacket vs veil decision.
Bee brush and frame grip
A bee brush has long, soft bristles for sweeping bees off a frame before you check for the queen or take honey. Brush with light, quick flicks; slow dragging angers bees. A frame grip clamps onto the top bar so you can lift heavy frames with one hand. It is optional, but handy if you have small hands or weak wrists.
Feeder
New packages and nucs need sugar syrup until they draw comb, and every colony may need feeding in a dearth or before winter. Internal feeders (frame feeders and top feeders) cause less robbing than entrance feeders. See the best bee feeders and an introduction to feeding bees.
The hive itself
Most US beekeepers use a Langstroth hive, because parts are standard and every supplier stocks them. A typical beginner setup is two deep brood boxes (or three mediums) plus one or two medium honey supers, with a bottom board, inner cover and outer cover. Buy all your boxes in one frame size if you can; interchangeable parts make life much easier. Learn the components in parts of a beehive, choose frames with our frame guide, and raise the hive on one of the best hive stands.
Pest control tools
Varroa mites are the biggest threat to honey bee colonies, and every hive has them. Budget from the start for a way to count mites (an alcohol wash or sugar roll jar) and at least one treatment method. Many beekeepers use an oxalic acid vaporizer in fall and winter; wear the respirator the label calls for. See the best varroa mite treatments, oxalic acid vaporizers and how to count varroa mites.
Honey harvesting equipment
Leave this until the colony has a real surplus. You need a way to clear bees from the supers (a bee escape board or fume board), an uncapping knife, a strainer and a bucket with a honey gate. A honey extractor is the big purchase; with one or two hives, many beekeepers borrow one from their local club or use the crush-and-strain method instead. Our honey harvesting guide walks through every step.
Record keeping
Notes turn inspections into knowledge. Record the date, whether you saw eggs or the queen, brood pattern, stores, temperament and mite counts. A notebook works fine; an app makes it easier to spot trends across several hives. See the best beekeeping apps and apiary software and how to inspect a beehive.
How the tools come together on an inspection
Knowing the order you use things helps you keep them within reach. A routine inspection goes like this:
- Suit up and light the smoker away from the hive, so it is producing steady smoke before you open anything.
- Smoke the entrance with two or three puffs, then wait a minute.
- Crack the lid with the hive tool, puff a little smoke under it, and lift it off. Set the covers upside down on the ground to rest boxes on.
- Loosen and lift frames with the hive tool (the J-hook end is ideal) or a frame grip. Start with an outside frame, which rarely holds the queen, and lean it against the hive to give yourself room.
- Brush bees aside with the bee brush when you need to see the comb underneath.
- Scrape burr comb off top bars with the hive tool, and top up the feeder if needed.
- Reassemble and record what you saw in your notebook or app while it is fresh.
Keep a small bucket or tote for the hive tool, spare fuel, lighter, notebook and a queen catcher, so you are not walking back to the house mid-inspection with the hive open. Most inspections take 10–20 minutes per hive once you have the routine down.
How to buy beekeeping equipment without wasting money
- Buy for two hives, not one. A second colony lets you compare, and share frames of brood or honey if one struggles.
- Order early. Suppliers run short in spring. Have everything assembled and painted before your bees arrive. See when to start a beehive.
- Spend on the things you touch every visit: smoker, hive tool, veil. Cheap versions of these are the ones people replace.
- Be careful with used hive equipment. Old comb and boxes can carry American foulbrood spores. New or properly sterilized woodenware is safer.
- Skip gadgets until you know you need them. Specialist items like grafting tools or hive lifts make sense later, once you know how you like to work.
For a realistic budget, read the cost of beekeeping.
Frequently asked questions
What equipment do I need to start beekeeping?
A complete hive on a stand, a veil or suit, gloves, a smoker with fuel, a hive tool and a feeder. That is enough to install bees and inspect them through the first season. Harvest equipment can wait.
What is the most important beekeeping tool?
Most beekeepers would say the hive tool, because you cannot open a hive without one, closely followed by the smoker. Both are used on every single inspection.
Is a beekeeping starter kit worth it?
For most beginners, yes. A kit gets matching parts in one order, often for less than buying them separately. Check whether frames come assembled, whether foundation is included, and whether tools and protective gear are part of the kit.
Do I need a honey extractor in my first year?
Usually not. First-year colonies rarely produce much surplus. Wait until you have honey to harvest, then decide between buying, borrowing or harvesting without an extractor.
Can I use a regular brush instead of a bee brush?
A very soft brush can work, but stiff or short bristles roll and crush bees and make them defensive. Many beekeepers use a large feather or simply shake the frame over the hive instead.
How do I clean beekeeping tools?
Scrape propolis and wax off the hive tool after each visit, and flame it with a torch or scrub it in washing soda solution when moving between apiaries, to reduce the risk of spreading disease. Knock old creosote out of the smoker now and then, and wash your bee brush in warm soapy water when it gets sticky.
All our beekeeping tool and equipment guides
Ready to choose? These guides compare the specific tools and equipment mentioned above, plus the gear you will need as your apiary grows.
Getting started
- Best beehive starter kits
- Beekeeping supplies checklist
- Parts of a beehive
- How to inspect a beehive
- Best beekeeping apps and software
Smoking the hive
- Best bee smokers
- Best bee smoker fuel
- Why a bee smoker is necessary
- How to make natural smoker fuel
- How to make a homemade bee smoker
Working the hive
- Best hive tools
- The bee brush
- Best beehive frames
- Beeswax foundation presses and mill rollers
- Best hive stands
- Best beehive bottom boards
- Beehive lifting equipment and carts
- Bee hauling tarps and nets
- Bee catchers and queen cages
Protective gear
- Best bee suits
- Best bee suits for hornets
- Best ventilated bee jackets
- Best bee veils
- Best beekeeping gloves
- All protective clothing guides
Feeding
- Best bee feeders
- An introduction to feeding bees
- How to make a DIY bee feeder
- Pollen patties: are they necessary?