Large Honeycomb Candle Mold: Craft Unique Beeswax Creations
Candles add warmth and charm to any space. A large honeycomb candle mold can help you create beautiful, unique candles.
Crafting your own candles is a fun and rewarding hobby. Using a large honeycomb candle mold allows you to make candles with a unique texture and design. These molds mimic the natural pattern of honeycomb, creating a stunning visual effect.
Whether you are a seasoned candle maker or just starting out, a large honeycomb mold can elevate your creations. Dive into the world of candle making and discover the joy of crafting your own beautiful, honeycomb-patterned candles.
Credit: www.betterbee.com
Introduction To Honeycomb Candle Molds
Welcome to the world of honeycomb candle molds. These unique molds help you craft beautiful candles with a honeycomb pattern. They are perfect for both beginners and experienced candle makers.
What Makes Them Unique
Honeycomb candle molds stand out because of their intricate design. The honeycomb pattern mimics natural bee hive structures. This adds an aesthetic appeal to your candles. These molds often come in various sizes and shapes. They offer flexibility in candle making. With honeycomb molds, each candle has a distinct and charming look.
Benefits Of Beeswax Candles
Beeswax candles offer many advantages. They burn longer than regular candles. This makes them cost-effective. They also produce a bright, warm light. Beeswax candles do not emit harmful chemicals. They are a natural option for your home.
| Benefit | Description |
|---|---|
| Long-Lasting | Beeswax candles burn slower, providing more hours of light. |
| Eco-Friendly | They are made from natural beeswax, not paraffin. |
| Non-Toxic | Beeswax candles do not release harmful chemicals. |
| Bright Light | They emit a warm, bright light, enhancing room ambiance. |
Choosing honeycomb candle molds allows you to create stunning, eco-friendly candles. Their unique design and the benefits of beeswax make them a great choice for any candle maker.
Choosing The Right Mold
Selecting the perfect large honeycomb candle mold can greatly impact the final product. The right mold ensures your candles have a professional finish. It also makes the process easier and more enjoyable. This section will guide you through the key factors to consider.
Materials And Durability
The material of the mold is crucial. Silicone molds are popular because they are flexible and durable. They allow for easy removal of candles without damage. Plastic molds are another option. They are less flexible but more affordable. They can still produce high-quality candles if used properly.
Durability is important. A durable mold can be used multiple times without wear. This saves money in the long run. Silicone molds are known for their long-lasting properties. Plastic molds can also be durable if handled with care.
Size And Design Options
Size matters when choosing a mold. Large molds are ideal for creating statement candles. They can be used for centerpieces or gifts. Smaller molds are better for creating multiple candles at once. Consider your needs before choosing a size.
Design options are endless. Honeycomb patterns add a unique touch to your candles. They mimic the natural beauty of honeycombs. You can find molds with different patterns and textures. Experiment with various designs to find the one that suits your style.
| Material | Pros | Cons |
|---|---|---|
| Silicone | Flexible, durable, easy to use | More expensive |
| Plastic | Affordable, sturdy | Less flexible, can break |
- Silicone molds: Flexible, long-lasting, easy candle removal.
- Plastic molds: Affordable, sturdy, less flexible.
- Consider the material for flexibility and durability.
- Choose a size based on your needs.
- Experiment with different designs for unique candles.
Essential Supplies
Creating your own large honeycomb candle mold can be a fun and rewarding project. To get started, you will need some essential supplies. These materials ensure that your candles come out perfect every time. Let’s dive into what you need.
Beeswax And Wicks
Beeswax is the primary ingredient for your honeycomb candle. It is natural, burns clean, and smells wonderful. You can find beeswax in different forms, such as blocks or pellets. Choose the one that suits your needs.
Wicks are also crucial. The right wick ensures a steady, even burn. Cotton wicks are a popular choice. Make sure to match the wick size to your mold size.
Additional Tools And Accessories
Some tools will make your candle-making process smoother. Here are a few you should consider:
- Double Boiler: Melts the beeswax evenly without burning.
- Thermometer: Monitors the temperature of the wax.
- Pouring Pot: Helps in pouring the melted wax into the mold.
- Scissors: Cuts the wick to the desired length.
- Mold Release Spray: Ensures easy removal of the candle from the mold.
Having these additional tools will make the process easier and more enjoyable.
Preparing The Beeswax
Preparing the beeswax is a crucial step in making beautiful large honeycomb candles. You need to ensure the wax is pure, clean, and properly prepared. This preparation will affect the candle’s quality and appearance. Let’s dive into the detailed steps involved in preparing the beeswax.
Melting Techniques
The first step in preparing beeswax is melting it. There are several methods to do this:
- Double Boiler Method: Place beeswax in a heat-safe container. Set this container in a pot of boiling water. Stir occasionally until fully melted.
- Microwave Method: Use a microwave-safe bowl. Heat the beeswax in short intervals, stirring in between. Keep a close eye to avoid burning.
Ensure the beeswax reaches a temperature of about 160-170 degrees Fahrenheit. This prevents it from burning. Proper melting is crucial for smooth and even candles.
Adding Scents And Colors
Once the beeswax is melted, it is time to add scents and colors. These enhance the candle’s appeal.
For scents, use essential oils or fragrance oils. Add them to the melted beeswax. Stir well to distribute the scent evenly. A general rule is to add one ounce of oil per pound of wax.
For colors, use wax dyes. Add small shavings or drops of dye into the melted wax. Stir thoroughly until the color is consistent. Remember, a little dye goes a long way.
Experiment with different scents and colors. Create unique and personalized candles. Proper preparation of beeswax ensures high-quality, beautiful honeycomb candles.
Pouring The Wax
Pouring the wax into a large honeycomb candle mold is a delicate process. It requires attention to detail and proper technique. This step is crucial to ensure your candle turns out beautifully.
Step-by-step Process
First, melt your wax using a double boiler. Heat the wax to the recommended temperature. Stir gently to ensure even melting. Once melted, add your desired fragrance and color. Stir again to mix everything thoroughly.
Next, prepare your mold. Ensure it is clean and dry. Secure the wick in the center using a wick holder or tape. Slowly pour the melted wax into the mold. Fill it to the top, leaving a small gap.
Allow the wax to cool and harden. This may take several hours. Once fully cooled, gently remove the candle from the mold. Trim the wick to the desired length.
Tips For Avoiding Air Bubbles
Air bubbles can ruin the appearance of your candle. To avoid them, pour the wax slowly. Pouring too quickly can trap air in the wax.
Another tip is to tap the mold gently. This helps release any trapped air. You can also use a heat gun to remove surface bubbles. Run the heat gun lightly over the top of the wax.
Ensure the mold is at room temperature. A cold mold can cause bubbles to form. Stir the wax gently to avoid creating bubbles during mixing.
Cooling And Setting
After pouring the wax into your large honeycomb candle mold, the cooling and setting process begins. This step is crucial for ensuring your candle has a smooth finish and maintains its intricate honeycomb design.
Optimal Cooling Times
The cooling time for a candle depends on several factors. These include the size of the mold, the type of wax used, and the ambient room temperature. Generally, it is recommended to allow the candle to cool for at least 4 to 6 hours. For larger molds, you may need to wait up to 24 hours. Ensuring the wax cools slowly and evenly is essential to avoid cracks and imperfections.
To achieve the best results, follow these tips:
- Place the mold in a room with a stable temperature.
- Avoid direct sunlight and drafts.
- For faster cooling, use a refrigerator. However, this can cause cracks if not done carefully.
Removing The Candle From The Mold
Once the candle has cooled and set completely, it is time to remove it from the mold. This step requires patience and a gentle touch to preserve the honeycomb pattern.
Here’s a simple guide to help you:
- Ensure the candle is fully cool and firm to touch.
- Gently flex the mold to loosen the candle. Avoid applying too much pressure.
- If the candle doesn’t release easily, place the mold in the refrigerator for 15-20 minutes. The cold will help the candle contract slightly, making removal easier.
- Carefully slide the candle out, supporting it with your hand to maintain its shape.
After removing the candle, trim the wick to about 1/4 inch. Your large honeycomb candle is now ready for display or gifting.
Finishing Touches
The final steps in creating a large honeycomb candle mold can make a big difference. Paying attention to the finishing touches ensures your candle looks polished and professional. Let’s dive into two key areas: trimming the wick and smoothing rough edges.
Trimming The Wick
Start by trimming the wick to about 1/4 inch. This length helps the candle burn evenly and safely. Use sharp scissors for a clean cut. A long wick can cause a large flame. This may lead to soot or even a fire hazard.
Check the wick’s length after each burn. Regular trimming keeps your candle looking neat. It also ensures a steady burn. Your large honeycomb candle will last longer and perform better.
Smoothing Rough Edges
Inspect your candle for any rough edges or bumps. These can form during the cooling process. Use a warm knife to smooth the surface. Gently heat the knife and run it over the rough areas. The wax will melt slightly and fill in the gaps.
Another method involves using a hairdryer. Set it to a low heat setting. Gently warm the rough areas until they smooth out. Be careful not to overheat the candle. This can cause unwanted melting or warping.
Smoothing rough edges gives your candle a professional finish. The final product will look and feel high-quality. Your large honeycomb candle mold will impress everyone who sees it.
Creative Ideas
Creating candles with a large honeycomb candle mold can be fun. There are many creative ways to make your candles unique. In this section, we will explore some amazing ideas to enhance your candle-making process.
Layered Colors
One way to make your candles stand out is by using layered colors. This technique involves pouring wax in different colors in layers.
- Start by melting your first color of wax.
- Pour it into the mold and let it cool slightly.
- Repeat with other colors to create layers.
This method creates a beautiful, striped effect. You can use complementary colors or a rainbow palette. The possibilities are endless!
Embedded Decorations
Another great idea is to add embedded decorations to your candles. This adds a unique touch and makes your candles look professional.
- Choose small items like dried flowers, herbs, or glitter.
- Place them in the mold before pouring the wax.
- Pour a thin layer of wax to hold the items in place.
- Once it cools, pour the remaining wax.
Embedded decorations can add texture and color to your candles. They are perfect for special occasions or gifts.
Caring For Your Mold
Proper care extends the life of your large honeycomb candle mold. It ensures your candles come out perfect every time. Follow these simple steps to keep your mold in top condition.
Cleaning And Maintenance
Regular cleaning keeps your mold free from residue. Use warm, soapy water and a soft sponge. Avoid abrasive cleaners. They can damage the mold’s surface.
Rinse thoroughly to remove all soap. Let the mold air dry completely. This prevents any soap or water from affecting your next batch of candles.
Inspect your mold for any wear and tear. Address any issues immediately. This ensures your candles maintain their shape and detail.
Storing Your Mold
Store your mold in a cool, dry place. Avoid direct sunlight. Heat and light can warp the mold over time.
Keep your mold flat to maintain its shape. If possible, store it in its original packaging. This provides extra protection.
Avoid stacking heavy items on top of your mold. This could deform it. Proper storage helps your mold last longer and keeps your candles looking great.

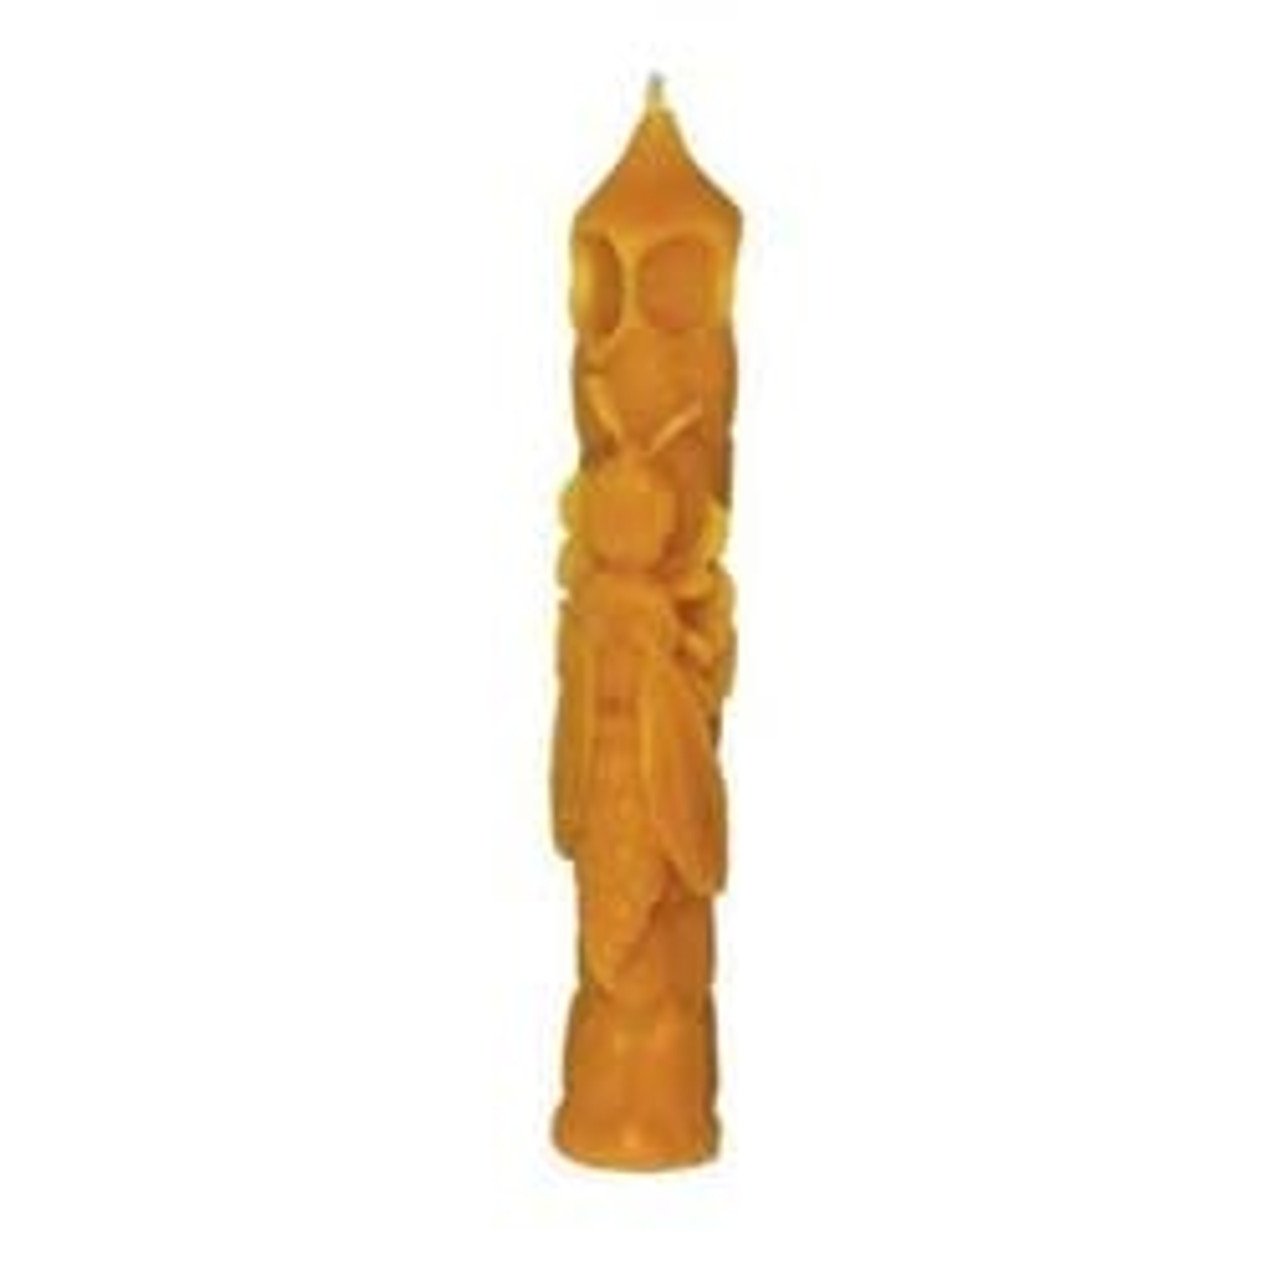
Credit: www.lappesbeesupply.com

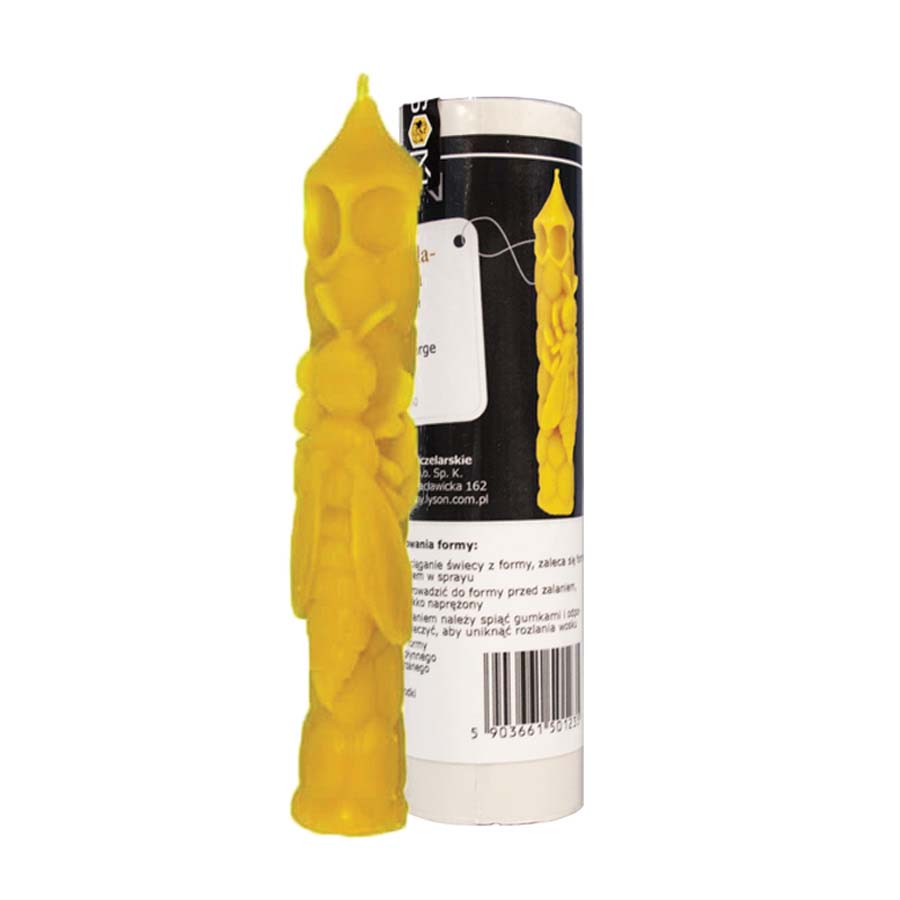
Credit: www.amazon.com
Frequently Asked Questions
What Is A Large Honeycomb Candle Mold?
A large honeycomb candle mold is a mold designed to create candles with a honeycomb pattern. It is typically used for making beeswax candles.
How Do You Use A Honeycomb Candle Mold?
To use a honeycomb candle mold, pour melted wax into the mold. Allow it to cool and harden, then remove the candle.
Where Can I Buy A Honeycomb Candle Mold?
You can buy honeycomb candle molds at craft stores, online marketplaces like Amazon, or specialty candle-making shops.
What Type Of Wax Is Best For Honeycomb Molds?
Beeswax is the best type of wax for honeycomb molds. It holds the pattern well and burns cleanly.
Conclusion
Creating candles with a large honeycomb mold is fun and rewarding. The unique design adds charm to any space. It’s easy to use and perfect for beginners. Crafting your candles allows for personal touches and creativity. Enjoy the process, and light up your home with handmade beauty.
Happy candle making!