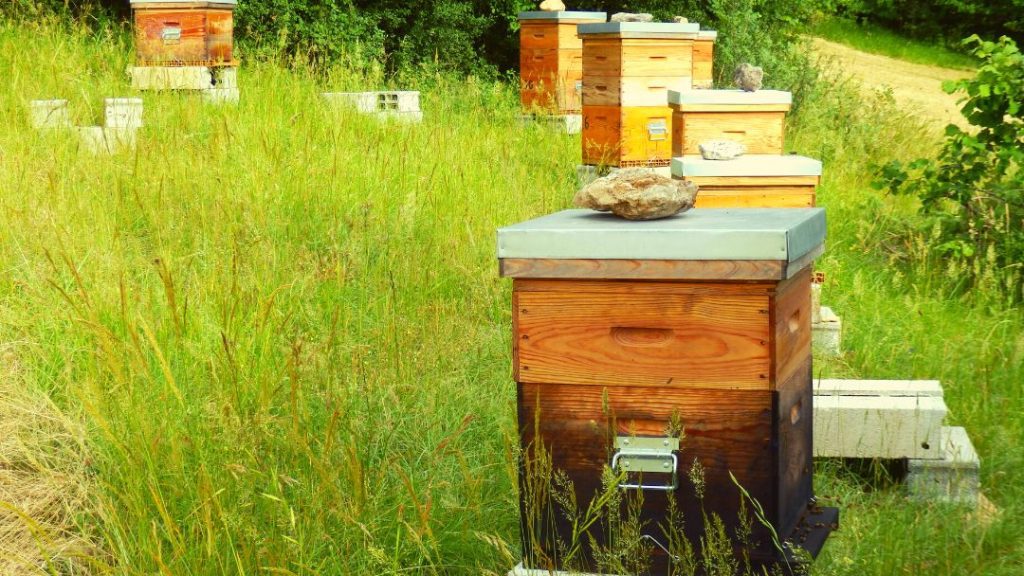
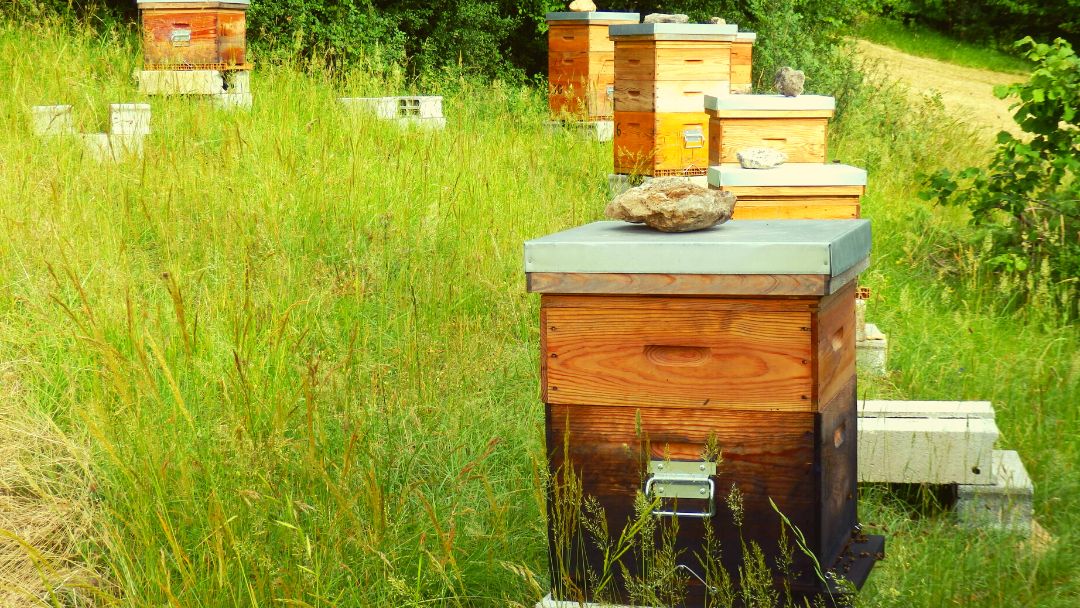
How to Set Up a Longstroth Beehive?
Are you interested in beekeeping and want to create your buzzing haven? Look no further than the Langstroth beehive. It is a hive design that’s both bee-friendly and beginner-friendly!
Though many beehive designs are available to the beekeepers, the Longstroth hive is the most beloved one.
Curious to know more? In this article, we will learn about the ins and outs of this amazing hive and discover the setting up process of the famous Longstroth hive. So, without wasting time, let’s get right into it.
What is Langstroth Beehive?
A Langstroth beehive is a revolutionized beehive design for beekeeping. Lorenzo Lorraine Langstroth invented this amazing design in 1851. It remains one of the most popular hive styles used by beekeepers worldwide.
Its modular and standardized structure is the key innovation of the Langstroth hive. The hive consists of stackable boxes called “hive bodies” or “supers.” These boxes can hold removable frames.
Plus, these frames feature a foundation guiding your bees to build their honeycomb straight and uniformly.
The Langstroth hive’s frame dimensions are standardized. As a result, you can easily interchange frames between different hives and supers.
But what are the potential advantages of Longstroth Beehive? Let’s have a look:
Efficient Honey Production
You see, the modular design makes it easy to add or remove supers. Thus, it becomes more straightforward for beekeepers to expand the hive vertically as the colony grows. Ultimately, you get ample space to store honey. Plus, it makes honey extraction convenient.
Improved Hive Management
You get removable frames in the Longstroth hive design to inspect the hive for disease, monitor the colony’s health, and assess honey stores without disturbing the bees excessively.
Minimized Bee Disturbance
During hive inspections, bees don’t get disturbed because of the unique design of the Longstorth hive. So, when a frame is removed, your bees are less likely to be crushed or agitated.
Bee Comfort
The Langstroth hive encourages bees to build their comb within the frames, creating organized spaces for brood (bee larvae) and honey storage.
Hive Expansion
Because of the convenient design, you can add honey supers as needed during the nectar flow. This extra space for your bees helps to store more honey.
Now, let’s discuss the materials and tools essential for setting up this particular beehive.

Necessary Materials and Equipment to set up a Langstroth beehive
If you want to set up a Langstroth beehive, it requires a range of materials and equipment. With this instrument, you can ensure a successful and thriving hive. Here’s a comprehensive list of what you’ll need:
Hive Components:
- Hive Bodies: You need boxes that stack vertically to house frames and offer space for bees to build comb.
- Frames: Rectangular structures to hold foundation sheets and allow bees to build comb.
- Foundation Sheets: Sheets made of wax or plastic to guide bees to build their comb.
- Bottom Board: The hive’s base offers stability and an entrance for bees.
- Inner Cover: Placed on top of the uppermost hive body to provide ventilation and insulation.
- Outer Cover: Protects the comb from the elements and provides further insulation.
As you are well aware of the hive component, let’s learn about the tools and equipment you need:
- Hive Tool
- Smoker
- Beekeeping Suit
- Gloves
- Veil(A protective mesh covering for your face)
- Hive Brush(Soft-bristled brush)
- Feeder(Optional equipment)
Protection and Safety Gear:
- Hat: Along with your veil, a hat provides additional protection for your head.
- Boots: Sturdy footwear to protect your feet and ankles from bee stings.
- Beekeeping Jacket: A lighter option for upper body protection, worn over your regular clothing.
- Pants: Light-colored and sturdy pants to protect your legs.
Selecting an Appropriate Location
Choosing the perfect location for your Langstroth beehive is a major step. A better site assures more productivity of your bee colony. Bees, like us, thrive in comfy, safe, and convenient environments.
Before assembling hive components, consider the following factors for hive placement.
Sunlight Exposure
Bees are early risers and love soaking in the morning sun. Pick a spot that gets enough sunlight in the morning to wake up your colony on the right side of the bed.
Wind Direction
Nobody likes a gusty home, especially bees. So, you should protect your hive from solid winds by placing it in a location shielded from prevailing winds.
Accessibility
Ease of access is an important considerable factor. You must select a spot that’s easily accessible for you to conduct regular inspections, maintenance, and honey harvesting.
Proximity to Water
As bees need water for various tasks, including temperature regulation and making honey, kindly place your hive near a clean water source like a pond, stream, or birdbath.
Foraging Opportunities
A variety of blooming plants should surround your hive. This is because it provides bees with diverse nectar and pollen sources. As a consequence, the whole colony remains healthy and productive.
Step-by-Step Assembly of Hive Components
Alright, now it’s time to turn those hive components into a sweet home for your buzzing buddies. It’s like assembling a cozy puzzle. The assembly requires the following steps.
- Step 1– Take those hive bodies and stack ’em up like a bee high-rise. These boxes will be your bees’ living quarters.
- Step 2– Grab your frames – these are like bee beds. Carefully assemble them according to the instructions.
- Step 3– Gently slide your foundation sheets (wax or plastic) into the frames.
You’re one step ahead of your hive’s future success as you put together the hive bodies and frames. It’s like creating a bee palace one piece at a time!
Preparing the Hive Site
Now that you’ve all set your hive components, it’s time to give your bees the perfect spot to call home. It’s like setting up a cozy campsite for your winged buddies. Let’s prepare the hive site.
- Step 1– First thing first, grab a trusty level tool and start to measure. Just ensure the ground is nice and flat.
- Step 2– Then, Remove any rocks, sticks, or bumps because they could give your hive wobbles.
- Step 3– Lastly, remember, a level ground is like a sturdy foundation for your bee high-rise.
Setting Up the Bottom Board and Hive Bodies
Hive bodies are the building blocks of your Langstroth beehive. The bottom board is the pillar of that building. Setting up these two components is one of the most critical steps. Now, let’s set up the bottom board and stack those hive bodies like a pro.
Placing the Bottom Board Securely
As we have already ensured our hive site is nicely leveled, let’s gently place our bottom board. Also, we need to ensure that the bottom board is snug and steady. No wobbling allowed!
Stacking Hive Bodies
Time to stack those hive bodies! The bottom one is your brood chamber – where bee life begins. If you’re adding honey supers, stack ’em up above the brood chamber. With the bottom board in place and your hive bodies stacked, you’re creating a bee paradise from the ground up.
Introducing Bees to the Hive
It’s the moment you’ve been waiting for – time to introduce your lovely bees to their new Langstroth beehive.
Step 1 – Transferring Bees to the hive
- If you have a bee package or nucleus colony, it’s showtime! Gently release your bees near the entrance of the hive.
- Use your trusty bee smoker to puff some cool smoke at the entrance. Smoke will keep the bees calm during their big move.
Step 2 – Patience and Observation
- After introducing the bees, give them a bit of space. They need time to explore their new home.
- Keep an eye on your hive entrance. You’ll soon see bees flying in and out, a sign they’re getting comfy in their new hive.
Installing Frames and Foundation
Let’s add some bee-friendly furniture to your Langstroth beehive. We’re talking frames and foundation – the building blocks of bee life. Follow the following steps:
- Step 1– Gently lift and inspect a frame for cracks or damage. If there is any potential damage, fix it before reinstalling.
- Step 2- Then, Carefully slide the frame into the hive body. Make sure there’s an even gap between frames for bee movement.
- Step 3- Whether wax or plastic, your foundation is like a blank canvas for bees to build their honeycomb masterpiece.
- Step 4-Gently slide the foundation into the frame. This offers a starting point for the bees for their comb-building adventure.
Ensuring Adequate Ventilation and Hive Covers
Just like us, bees need good ventilation and a cozy roof over their heads. So, kindly ensure your hive has the perfect airflow and cover for a happy bee home.
Ventilation
Your bees need fresh air, just like we do. Ensure your hive has proper ventilation to prevent moisture buildup and keep the air flowing. To do this, you can create a top entrance or use screened bottom boards to enhance airflow. Healthy bees breathe easy.
Hive Covers
Hive coves are an essential part of the beehive structure. This cover protects your bees from rain, wind, and extreme temperatures. In addition to that, installing an inner cover can provide insulation.
Regular Maintenance and Monitoring
Regular monitoring and maintenance are necessary for keeping your bees healthy. So, how do I do it? Follow the following steps:
- Maintain a beekeeping journal to track hive progress and plan future actions.
- Schedule routine hive inspections to make sure the colony is thriving. Check for brood (baby bees), honey stores, and any signs of disease.
- If your bees are low on food, consider providing a feeder with sugar water until they have enough nectar sources.
FAQs (Frequently Asked Beekeeping Questions)
How many bees can fit in a Longstroth hive?
There is no exact answer as it depends on several factors like frame types, surface area, etc. For further information about bee density, check out this article.
What is the best time to start a beehive?
When flowers initiate to bloom in the spring season, and the weather gets warmer, you can start a beehive. It’s the perfect time for beekeeping.
What is the structure of the Longstroth hive?
A Longstroth hive generally contains two hive bodies, a hive stand, a bottom board, one or two supers, an entrance reducer, an outer hive cover, and an inner hive cover.
What is the best beehive size?
If you are a beginner, then a medium-depth hive with eight to ten frames is the perfect one for you. But if you are a pro, pick up any amount of frames that you require. More frames means more weight. So, it’s going to be a hassle for some beekeepers.
Is eight or 10-frame hive better?
A hive with ten frames is standard and most popular in the beekeeper’s community. However, if weight worries you, you should prefer the eight-frame hive.
Conclusion
That’s all for today. Hopefully, the article about how to set up Longstroth hive has enlightened you about the bee world and its loveable home.
Every hive is unique, just like each bee. Your bees will be happier and more productive if you provide the right conditions, attention, and love. Plus, by building up their hive correctly, you can boost their honey-making process.
So, beekeeper extraordinaire, go forth and create a world where buzzing bees and sweet rewards await. Happy beekeeping!

